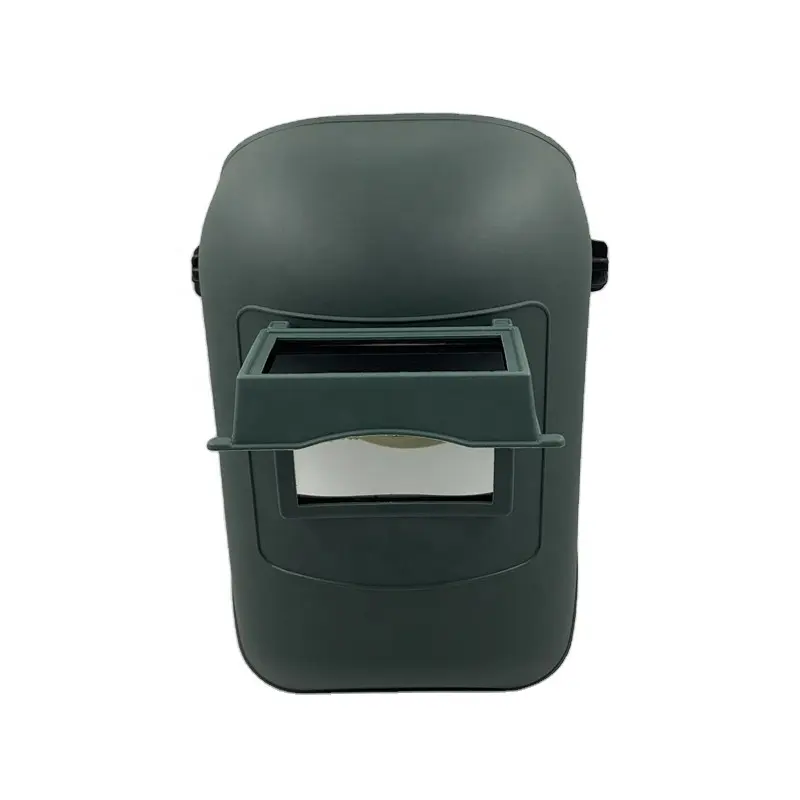
Selecting the right lens for your welding helmet is crucial for ensuring safety and performance in your welding work. Welding lenses come in various shades and types, each designed to provide optimal protection and visibility based on the specific welding process and conditions. Here’s a guide to help you choose the right lens for your welding helmet:
- Auto-Darkening vs. Passive Lenses:
- Auto-Darkening Lenses: Auto-darkening lenses are a popular choice because they automatically adjust their shade level in response to the brightness of the welding arc. They provide constant protection for your eyes, and you don’t need to lift the helmet repeatedly. These lenses are highly versatile and are suitable for various welding applications.
- Passive Lenses: Passive lenses have a fixed shade level and do not automatically adjust. You need to lift the helmet to see your work and then flip it down for protection. While passive lenses are simple and reliable, they may be less convenient for applications that require frequent adjustments.
- Shade Level:
- The shade level of the lens determines the darkness of the lens when exposed to the welding arc. Different welding processes and amperage levels require different shade levels. Common shade levels include:
- Shade 9-13: These are the most common shades used for general welding applications. They provide protection for processes like shielded metal arc welding (SMAW), gas metal arc welding (GMAW), and gas tungsten arc welding (GTAW).
- Shade 14: Shade 14 lenses are the darkest and are suitable for extremely high-amperage welding processes, such as submerged arc welding (SAW) or for applications with intense light and UV radiation.
- Shade 5-8: These lighter shades are typically used for low-amperage welding, such as TIG welding or oxy-fuel cutting. They allow for better visibility during these processes.
- The shade level of the lens determines the darkness of the lens when exposed to the welding arc. Different welding processes and amperage levels require different shade levels. Common shade levels include:
- Welding Process:
- Consider the specific welding process you will be performing. Some processes, like TIG welding, require better visibility and may use lighter shade lenses, while high-amperage welding processes may necessitate darker shades.
- Sensitivity and Delay Adjustments:
- Some auto-darkening lenses have sensitivity and delay adjustments. These settings allow you to fine-tune how the lens reacts to the welding arc. Adjust the sensitivity for the specific arc intensity, and set the delay to control how long the lens stays dark after welding.
- Optical Clarity:
- Look for lenses with high optical clarity, as this will allow you to see your work with precision. Good optical quality reduces distortion and improves the quality of your welds.
- Respiratory Protection:
- If you’re working in environments with hazardous fumes and particles, consider a lens that can be paired with powered air purifying respirators (PAPR) or supplied air systems for respiratory protection.
- Comfort and Fit:
- Ensure that the lens fits your welding helmet comfortably and securely. Proper headgear and suspension systems are essential for comfort and safety.
- Regulations and Industry Standards:
- Be aware of safety regulations and industry standards in your region. Ensure that your chosen lens complies with these standards for eye protection.
- Personal Preference:
- Your personal preferences matter. Some welders prefer a specific lens shade or type based on their experience and comfort. Try out different options to find what works best for you.
In summary, choosing the right lens for your welding helmet involves considering the welding process, amperage, visibility requirements, and personal comfort. It’s important to have the appropriate lens to ensure eye protection and quality welding work.


